Journal / How the Trigger Mechanism in a Wooden Model Kit Works
How the Trigger Mechanism in a Wooden Model Kit Works
A spring, a sear and a short travel are all that hold a cut wooden model together. What each part does, and why the order you fit them decides whether it works.
People open a precision model kit expecting the mechanism to be the hard part. It is not the hard part. It is the part with the fewest pieces and the least tolerance for getting the order wrong.
This is what is actually inside a spring-loaded trigger group made of cut wood, and what decides whether it clicks or jams.
Three parts, one job
Almost every kit of this kind uses the same three-part idea:
A trigger that pivots. It is a lever with a short arm on one side of its pivot and a long arm on the other. Your finger moves the long arm. The short arm does the work.
A sear, which is the small catch the short arm presses against. The sear is what holds the spring-loaded part back.
A spring, which stores the energy. In wooden kits this is usually a shaped strip or a coil, and it is the only part that is already under load before you touch it.
Nothing here is complicated. What makes it fiddly is that all three have to line up at once, and two of them are moving.
What happens when you pull
Pull the trigger and the short arm travels a very small distance. That distance is deliberate: it is the amount of movement needed to release the sear, and not more.
When the sear rotates, the catch lets go. The spring releases and drives whatever it is pushing. Then the spring is spent, and the whole group has to be reset before it will happen again.
The travel distance is the thing people misjudge. If the trigger moves freely and nothing happens, the short arm is not reaching the sear. If it will not move at all, the sear is already engaged in a way it should not be.
The assembly order matters more than the parts
The most common failure is not a broken piece. It is the spring going in at the wrong moment.
Load the spring before the trigger group is fully seated, and you are now fighting a live part while trying to fit several other parts around it. Do it in the other order and the whole group goes together with your hands relaxed.
So the sequence that works is:
- Fit the trigger and check it pivots freely with nothing attached.
- Fit the sear and check the trigger's short arm reaches it.
- Only then fit the spring, and fit it last.
- Cycle it by hand before the model is closed up.
Step four is the one worth being stubborn about. Once the body panels go on, you can no longer see the group, and diagnosing a bad sear engagement through a closed shell is much harder than doing it with the side open.
Why dry cycles are the real test
Cycle the mechanism a dozen times with nothing loaded and watch the reset. A group that resets every time is built correctly. A group that resets nine times out of twelve has a sear that is barely catching, and it will get worse, not better, once the model is finished and handled.
If it fails intermittently, the cause is almost always one of two things: the sear pivot is tight enough to drag, or the trigger's short arm is slightly short of its travel. Both are visible from the open side.
A note on what these models are
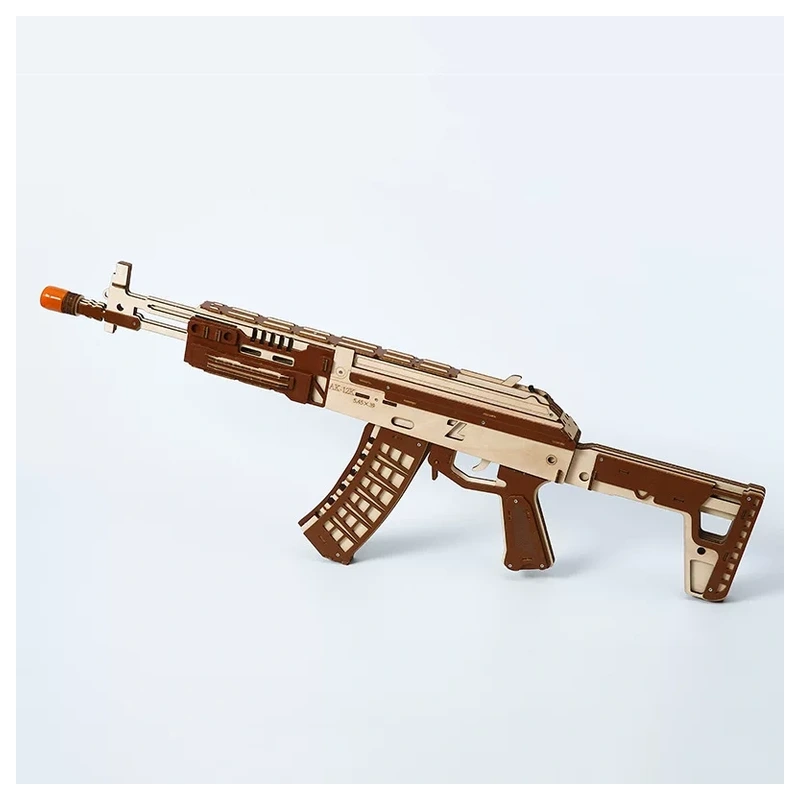
These are display models made from cut wood. They are not firearms and they are not built to fire anything. Nothing should be loaded into one, and no part of the mechanism should be modified to accept a projectile. The interest is in watching a clean little mechanism do its job, which is why the kits that show the group through an open side are the more satisfying ones to build.
If this is your first kit with moving parts, the general assembly logic is the same as any other: what a wooden 3D puzzle actually is covers how the sheets are organised, and reading the part numbers saves the most time on any mechanism build because you stop hunting for the right piece.
Where beginners actually get stuck
Two things, repeatedly.
The first is a tight pivot. A trigger that will not swing freely will not release consistently, and the fix is a light clean-up of the hole rather than force. The second is a spring fitted the wrong way round, which usually produces a mechanism that moves but never catches.
Neither is a manufacturing problem. Both are caught by step four, which is why it is worth doing before the shell closes. If a piece does break while you are testing, that is recoverable.
You can see the full range of these on the Precision Models collection, or browse every kit we carry.
Applies to: Precision Models · All kits
Kits in this article
Each kit links to its own page with the full specification.


If you are stuck mid-build
Our build guides cover the two things that actually go wrong: a marble run that will not run and part numbers you cannot read.