Journal / How a Bolt Action Mechanism Works in a Wooden Model
How a Bolt Action Mechanism Works in a Wooden Model
Turn, pull, push, lock. Four moves that do all the work, and the one part that decides whether the movement feels smooth or grinds.
A bolt action looks complicated and is not. Everything it does happens in four moves, and once you can name them you can watch a cut wooden model perform all four in about a second.
Turn, pull, push, lock. That is the whole cycle.
Why it has to turn first
The bolt cannot slide backward until it has rotated. This is the part people find counter-intuitive, because the handle looks like a lever for pulling.
Inside the model there are locking lugs: small shoulders on the bolt that sit inside matching recesses in the body. In the closed position those shoulders are seated in the recesses, and the bolt is locked forward. Rotating the handle lifts the shoulders out of their seats. Only then is the bolt free to travel.
So the rotation is not decoration and it is not leverage. It is an unlock. Skip it, or rotate only partway, and the bolt will not move — and the natural reaction, pulling harder, is exactly the wrong move. If a bolt will not travel, the first thing to check is whether it is fully rotated.
What the pull does
With the bolt unlocked, pulling back does two jobs at once.
It draws the bolt rearward along its channel, and it compresses a return spring. On most cut wooden kits that spring is a shaped strip or a small coil sitting behind the bolt body, and it is the only part in the assembly already under load.
That spring is also the reason the movement feels different in each direction. Pushing forward, you are working against it. Pulling back, you are loading it. If the return feels weak or the bolt does not come forward on its own, the spring is not seated correctly — not worn out, because a shaped strip does not weaken in a week.
What the push does, and the click
Pushing forward returns the bolt along the same channel and brings the lugs back toward their recesses. The last part of the travel is where the lock happens, and on a well-assembled model it is a distinct change in feel rather than a click you have to force.
If the push requires pressure at the end, the lugs are not lining up with their recesses. The cause is almost always one of three things: the body panels are slightly out of square, the bolt channel has a burr, or the lugs were fitted the wrong way round. All three are visible with the side open, which is why testing before the shell closes matters.
The trial cycle, and why it is the real test
Run the cycle a dozen times by hand before the model is closed up, and watch for two things.
First, does it complete every time without help? A cycle that works nine times out of twelve has a lug engagement that is barely catching, and it will get worse once the model is handled.
Second, does it feel the same in both directions? A movement that is smooth one way and tight the other is binding somewhere, and the usual cause is a channel that is not straight rather than a part that is the wrong shape.
Where the feel of a good bolt comes from
Two kits built to the same design can move very differently, and the difference is almost never the parts.
It is alignment. A bolt channel that is straight, lugs that sit fully into their recesses, and a spring seated square behind the bolt will give a movement that is smooth and quiet. Any one of those slightly off turns the same movement into something that grinds — and the grinding part is doing the work of telling you which of the three is wrong.
What these models are, and are not
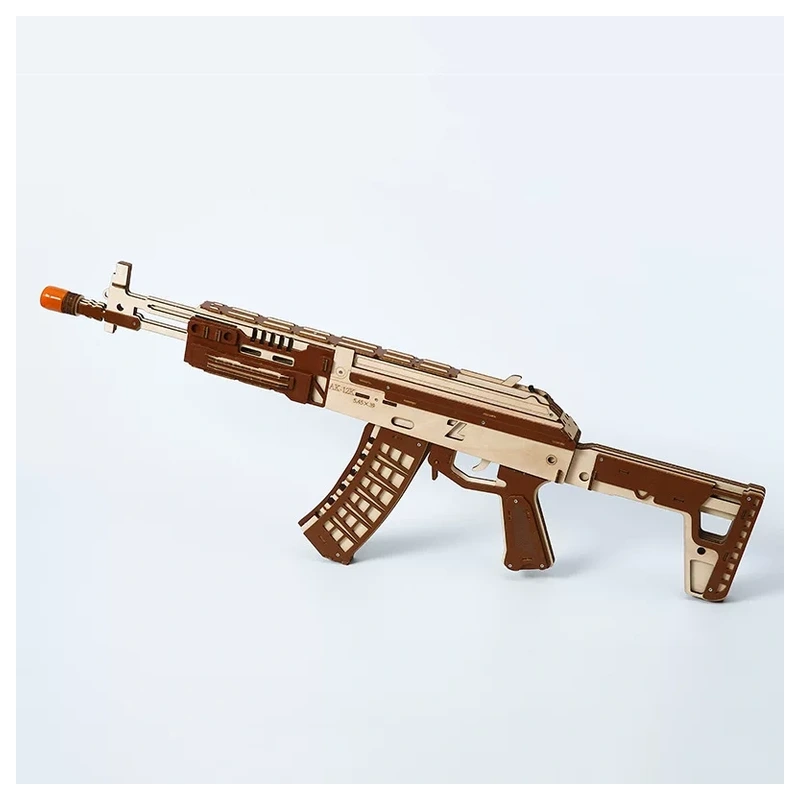
These are display models cut from wood. They are not firearms, they are not built to fire anything, and nothing should ever be loaded into one. The interest is mechanical: a small linkage that locks, travels, and returns, and that you assembled yourself.
If this is the first mechanism you have built, the general assembly logic is covered in what a wooden 3D puzzle actually is, and reading the part numbers is what stops you hunting for the right shoulder piece mid-build.
When something does not fit
A lug that will not seat is almost never the wrong size. Check the orientation first, then the square of the body, then the edge of the recess for a burr. If a part does break while you are testing, that is repairable, and a clean break along the grain glues back well.
You can see the range on the Precision Models collection, or browse every kit we carry.
Applies to: Precision Models · All kits
Kits in this article
Each kit links to its own page with the full specification.
If you are stuck mid-build
Our build guides cover the two things that actually go wrong: a marble run that will not run and part numbers you cannot read.